This is my final rendered video before adding sound and completing my motion graphic. The next process of my animation will be to figure out the correct timing of the sound track that I have chosen and then add it to my animation.
Saturday, April 30, 2016
Studio Brief 2- Idents
This is my final rendered video before adding sound and completing my motion graphic. The next process of my animation will be to figure out the correct timing of the sound track that I have chosen and then add it to my animation.
Studio Brief 2- Idents


I had went back in to illustrator and redesigned the wedding arch, I had also changed the colour of the arch to a slight grey colour as I felt as if the white was too bright especially with a bright green background, Once the arch was finished and keyframed in after effects I then went back in to illustrator and create my the groom and bride characters, these two characters I have key framed so then they both appear at the same time and will be stood underneath the arch at the same time.
Studio Brief 2- Idents


Studio Brief 2- Idents
This is another rendered video, after I have finished the third panel on my motion graphic, for the hallmark channel.
Studio Brief 2- Idents


After I had finished placing the clouds in the correct place and happy with how they appear on the screen I then created a graduation cap and reversed two of the same images, so then the caps didn't all look the same, again I had to place key frames on each cap, because the caps would appear on screen coming from below, I also added a slight rotation to each of the caps, this was because it makes it look more realistic as if the caps had just been thrown in the air.
Studio Brief 2- Idents
This is a quick rendered video of my motion graphic so far. Rendering my videos before finishing my animations, helps give me an idea of how everything looks as if it was to be a finished piece and how the timing works out, this then means I am then able to go back in to after effects and change anything that needs fixing that I am unhappy with.
Studio Brief 2- Idents


For the third panel, I went back in to illustrator and created a cloud shape, I then multiplied the cloud three times so then I could place each one in the third panel for the background, again I used key frames to make the clouds come down from above, the clouds then slightly bounce as they land in the position wanted.
Studio Brief 2- Idents


For my second panel, I created the birthday cake first on illustrator, then placing the cake image on after effects I the set up key frames so then the cake will be placed on the table in the purple panel from above. I then going back in to illustrator, I then made the girl who will appear in to the panel from the right side and will be placed behind the birthday cake.
Tuesday, April 26, 2016
Study Task 1- Do it yourself

Study Task 1- Do it yourself


Study Task 1- Keep On Truckin'

This is a rendered imaged of my finished truck that I had created on maya, although I wish I could of changed the background so that you would be able to see the truck its self better. From this perspective I think you can see all the truck apart from one of the back wheels but you can see I have at least placed 1 out of the 2 wheels on the other side of the truck.
Study Task 1- Keep On Truckin'


These images show the process of me building a truck on maya. I found the first couple of steps of actually building the cab and the end bit of the truck the hardest but once they were done, creating the chassis and the wheels I found the easiest, i think this is because they were probably the most simplest things to create.
Monday, April 25, 2016
Studio Brief 2- Idents
This is a rendered video of my motion graphic so far, this is just demonstrating how the animation will look and how the timing will be. I think I might change the background colour which the Hallmark channel logo is on as I think that colour is far too bright and in your face, so maybe finding a more subtle colour will be best.
Studio Brief 2- Idents

This is my storyboard for my animation for the E4 TV ident. In my animation it will start off on the scene with the TV is off then the scene will change to the one of the man sat down and he will pick up a remote and turn the TV on, the scene will then change again to the TV and then pan in to the screen this is where it will show you someone getting their E4 tattoo. I have now decided to change from doing this animation from cut out to 2D animation on photoshop this is because i personally dont think i will have time to create a cut out animation, and finding all the materials in the right shades of purple for this animation will be difficult
Studio Brief 2- Idents


These are my initial ideas for my animation for my TV Ident for E4, because i have chosen to create my animation based off the TV series Tattoo fixers I will be showing someone getting a tattoo and then once they wipe away the ink the E4 logo will appear. I have also chosen to not include characters faces as I wanted this animation to be very simple as it iss only for 10 seconds. I tested out using different colours of purple as i want my whole animation to be in different shades of the colour purple as that is the colour of E4.
Studio Brief 2- Idents


After i had all the panels sorted on my motion graphic for the hallmark channel, I then started on creating the baby in illustrator, this will be inside the first panel. Originally I wanted the baby within the first panel to be panning out, so then it would start off with the babies face on the screen then pan out the the whole image of the baby in the cot. I came across some problems when trying to do this, this was because the image of the baby would over lap on to another panel and then when i tried to pan the image of the baby out it would move the image so then it would be really far up and not centred.
Studio Brief 2- Idents


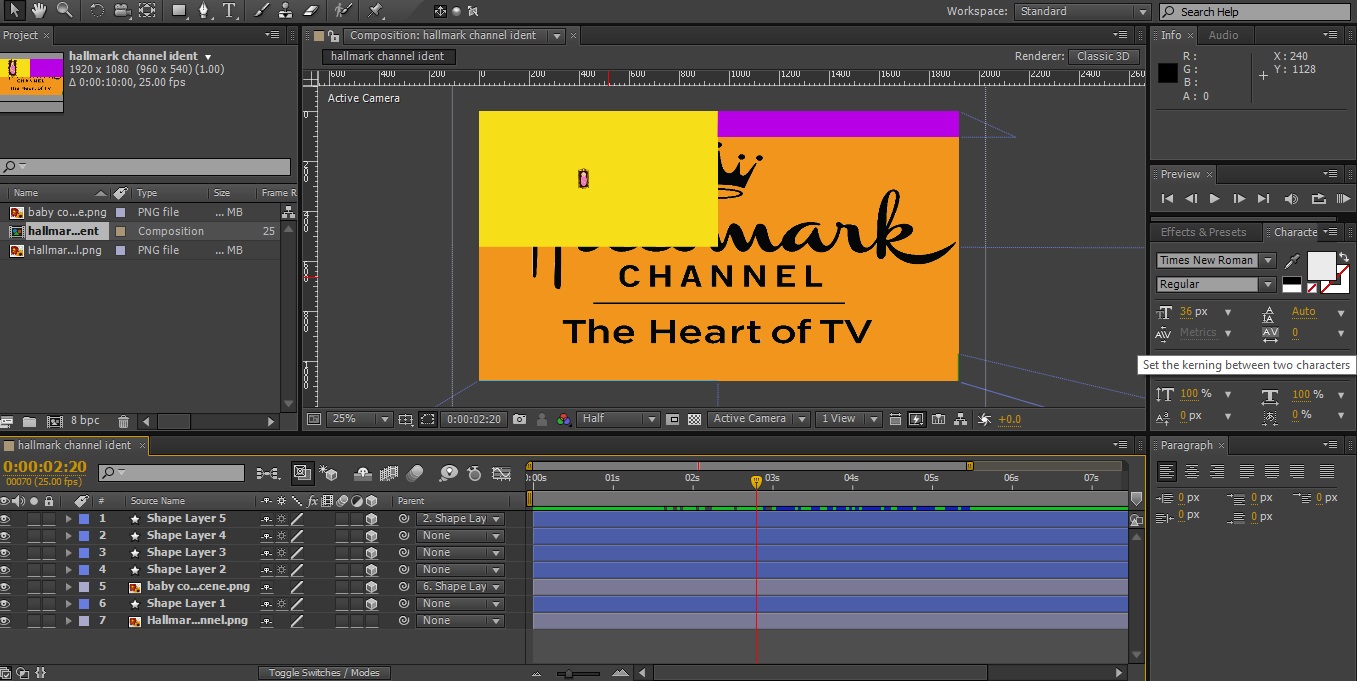
This is the start of my motion graphic I started off just applying the hallmark channel logo on to the background, this will be shown for the 3 seconds that is needed. I chose the colour orange for the background as I had to change one of the panels colours, this is because it looked too much like the windows logo. After having the Hallmark channels logo on the screen the 4 different panels which will have characters and movements inside, will then appear, I have done this by adding a simple shape in the colour I wanted and then selecting the 3D option on after effects. Creating the boxes so then they look 3D, makes the panels look as if they are folding in to the screen from off the screen.
Subscribe to:
Comments (Atom)